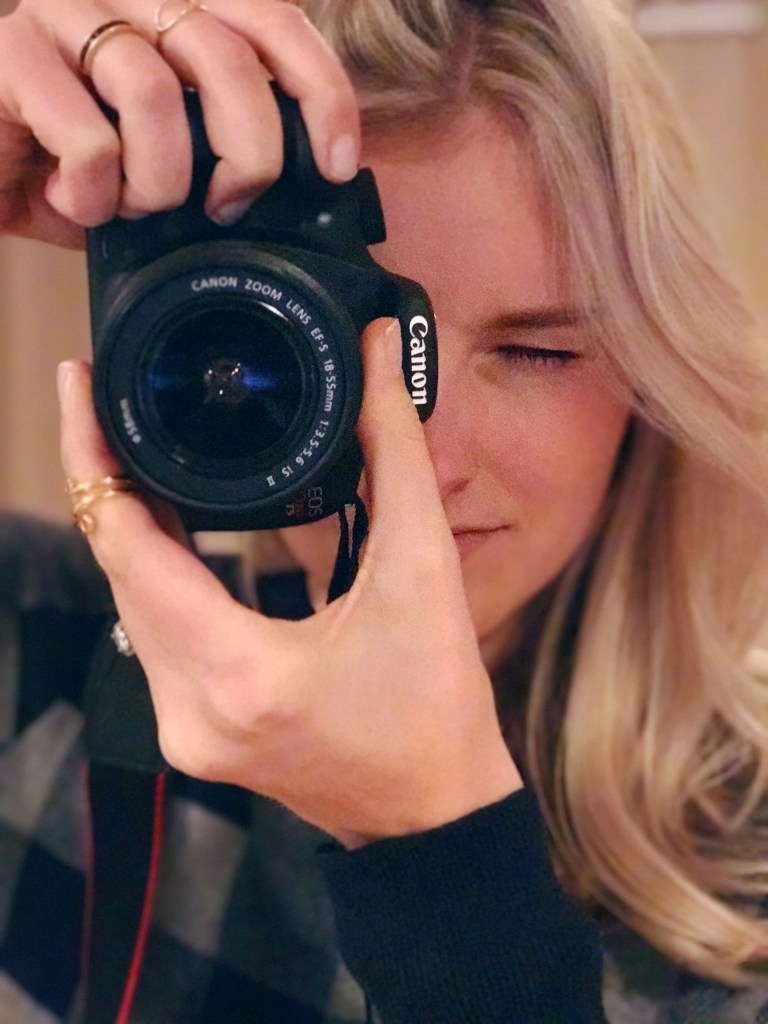
I have learned so much in my almost 2 years of food blogging. I put together a list of my top 5 food photography tips and explained them below. If you want to know more, feel free to contact me and we can schedule a consultation, workshop, or photography/blogging/social media lesson. I would be happy to meet with you and get you on your way to taking beautiful food photographs!
1. ALWAYS SHOOT IN NATURAL LIGHT
This makes the biggest difference between a good photo and a bad one. Shadows and flashes create odd and unflattering light for food. Food (and people) look best when shot using natural light to accent. Sometimes this means you have to eat dinner at 4:00 or you have to reschedule a reservation because it is too cloudy one morning. Regardless, you will be glad you made these small sacrifices in order to ensure you have good, natural light.
2. EDIT YOUR PHOTOS WITH ADOBE LIGHTROOM
Adobe Lightroom can work wonders on a bad picture. You can brighten, sharpen, illuminate, pull specific colors, the possibilities are endless. Salad not looking green enough? Add some color. Colors looking drab? Add some saturation. Not enough light? Brighten and sharpen. You’ll learn what features you like after playing in Adobe Lightroom, then try to use the same editing features for all of your photos to keep everything looking cohesive and consistent. (See below: Before Lightroom (Left) / After Lightroom edits (Right))
3. SHOOT PORTRAIT STYLE
This is mainly important for social media purposes. If you haven’t noticed, smartphone screens are designed vertically. Photos look best on a smart phone if they are long rather than wide. So, turn your DSLR camera sideways or just shoot upright from your smart phone. You will see your social media stats improve and your photos will have better success on Instagram, Facebook, and Pinterest.

4. ASK TO SIT BY A WINDOW
In order to get the most and best natural light in a restaurant, I always ask to sit next to a window. Sometimes a restaurant is too dimly lit and even sitting by a window doesn’t help much, but I promise it is better than nothing. This is where your photo editing in Lightroom really comes into play. If you still dont have enough light, dont use your flash.. ever… which brings me to my next point.
5. NEVER USE YOUR FLASH
No matter what (when shooting food). Regardless of what your instincts tell you, your flash does not help your food photos, it only hurts them. Shoot without your flash and instead use Adobe Lightroom to brighten your photos. There is a special trick feature that I learned about that makes a night food shot look like it was taken in the middle of a bright day. I can teach you more about this in a one-on-one consultation. The top two photos below have been adjusted to look like they were shot in daylight. You can notice that the bottom two photos (without special edits) are yellow toned and murky while the top two are white balanced and vibrant.


Keep eating, Spokane.
XOXO


 Hi! I'm Chandler, owner of Spokane Eats, and I think life is too short for the mediocre. Our team is here to help you discover why we fell (and continue to fall) in love with Spokane Washington!

0 Comments